December 10, 2016
My life has gone through a whirlwind and recovery phase since my last post.
September 2015 through April 2016 was one of the most challenging times in my life as I finished my Fashion Design Diploma, continued teaching one day a week, coached one son’s soccer team and ferried children to soccer games and piano lessons/festivals/exams. I couldn’t have done it without the help of my family–so a HUMONGOUS thank you to them–especially my husband and my mother. I don’t think I have ever pulled as many all-nighters in my life as I did during this year, but it was the only place I could find the time to complete homework, so I did it. I’m amazed I was able to.
To summarize, over the course of this second year I learned how to
- design, draft and construct a bustier, swimsuit, jacket, coat, and the three complete outfits in my collection
- machine knit a pullover, pant and the poncho in my collection
- use draping techniques to create an evening dress
- make a hat
- perform a variety of surface design applications to create fabric and then construct a silk painted dress, a resist/dyed velvet top and skirt, and a heat pressed polyester dress
- create a comprehensive portfolio showcasing two separate collections
among a variety of other things too numerous to list. It was a busy year made just a little more challenging since the program was being cancelled and the classes I wanted to finish a Textile Focus would only be offered during my last two semesters. I took a full course load in the Fall semester (15 credit hours) and more than a full course load for the Winter semester (20 credit hours).
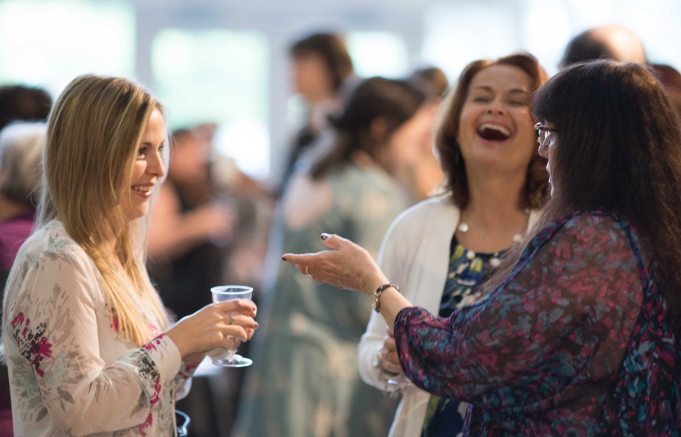
The year culminated in the Absolute Style Fashion Show. In addition to all of the work our small group did to make this show take place it couldn’t have been possible without the support of our teachers and university staff, the Student Union Society as well as a number of other donors.

Photograph courtesy of the University of the Fraser Valley
The fashion show was not a necessary part of our graduation so we were so thankful it could happen.
On the day of the show we had both an afternoon and evening performance. Seventeen amazing models did a tremendous job in making our designs look fabulous. There are no words to describe the thrill you feel when you see the tangible evidence of your many hours of designing, drafting and sewing hit the runway.
Here is a look at some of my pieces.
My circus themed, mime bustier, modeled by Jordan.


Photograph courtesy of the Abbotsford News and the University of the Fraser Valley
My coat modeled by Megan.

Photograph courtesy of the the Abbotsford News: John Morrow
My dress, created in our computer aided drawing (CAD) course, modeled by Alexis.
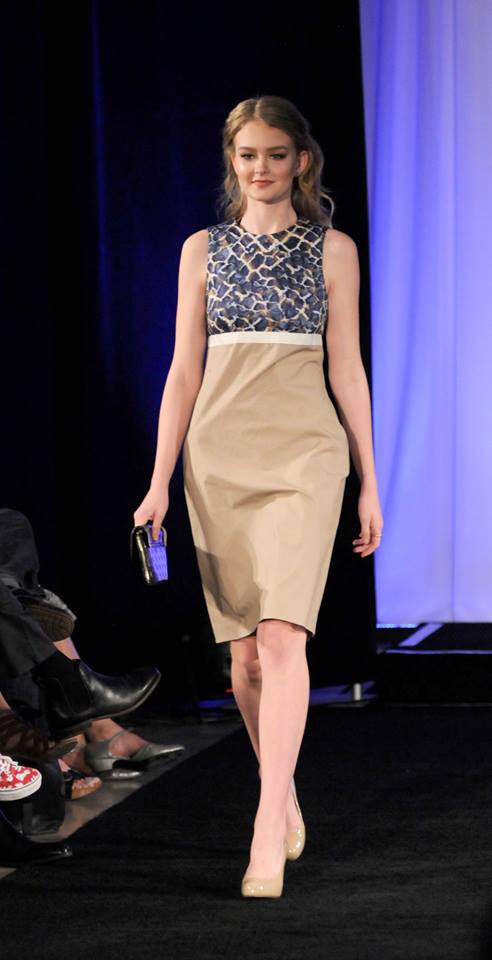
Photograph courtesy of the Abbotsford News
My monokini, modeled by Jordan.
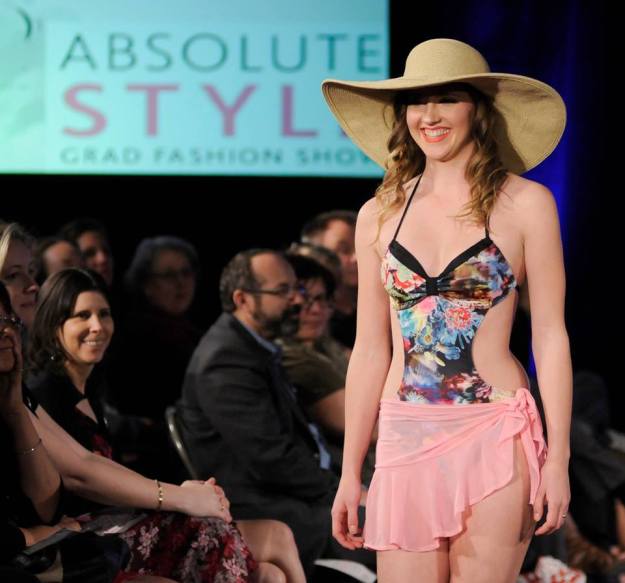
Photograph courtesy of the Abbotsford News
My jacket, with matching pant, modeled by Jaymi.
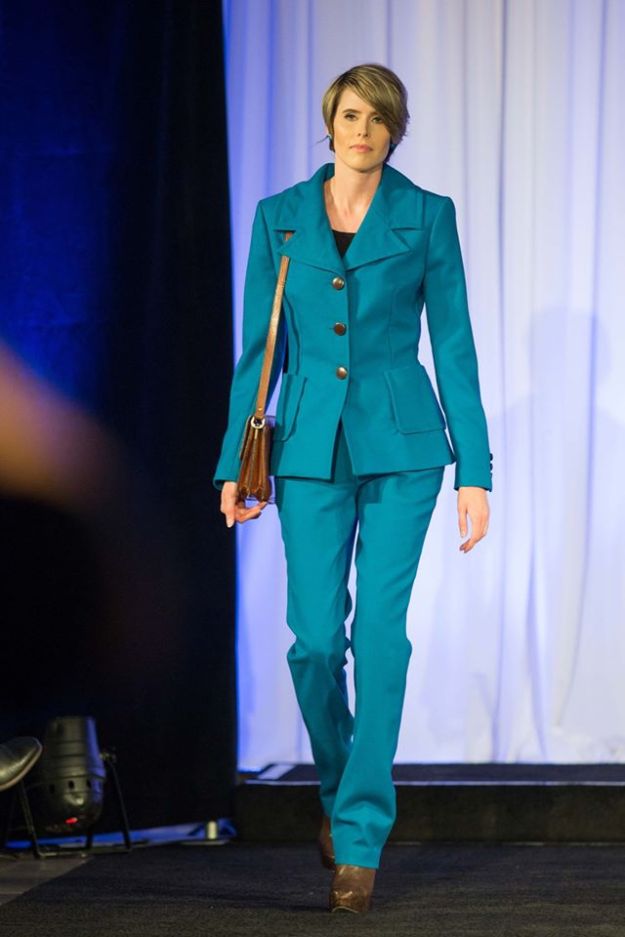
Photograph courtesy of the University of the Fraser Valley
Three of my surface design projects walked down the runway. The first of these pieces was a red dress I don’t have a picture of. The second was a velvet outfit where the surface design effect was created by rocks being tied into black velvet. The velvet was then put through a turquoise thiorea dioxide vat dye process to become the fabric for this two piece outfit modeled by Chanel.

Photograph courtesy of the University of the Fraser Valley
My third surface design project was my painted silk dress, modeled by Alexis. You can find a few pictures of my process here.
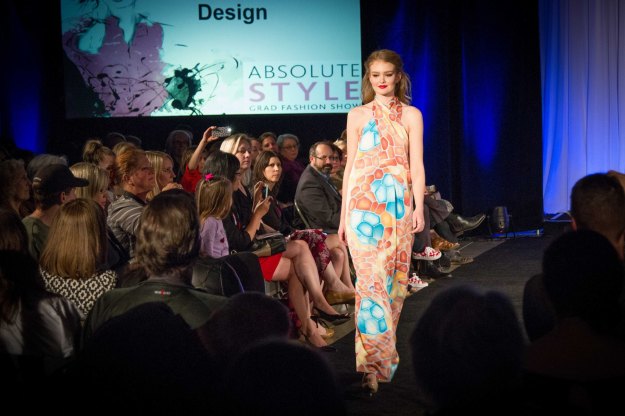
Photograph courtesy of the University of the Fraser Valley
My crazy striped sweater and pant suit also made it onto the runway, but I failed to get a picture of them too. Here is fellow classmate, Christine, modeling it for me. You can find the larger version of this picture on my Instagram feed at peachycooo. Or on model, Charlynn, in this very short video I managed to take. It’s worth having a peak at the video, just to see that the back and the front are different.

My group weaving project, we (me, Jessica and Colleen) called the “Peacock Batwing” was modeled by Aislyn.
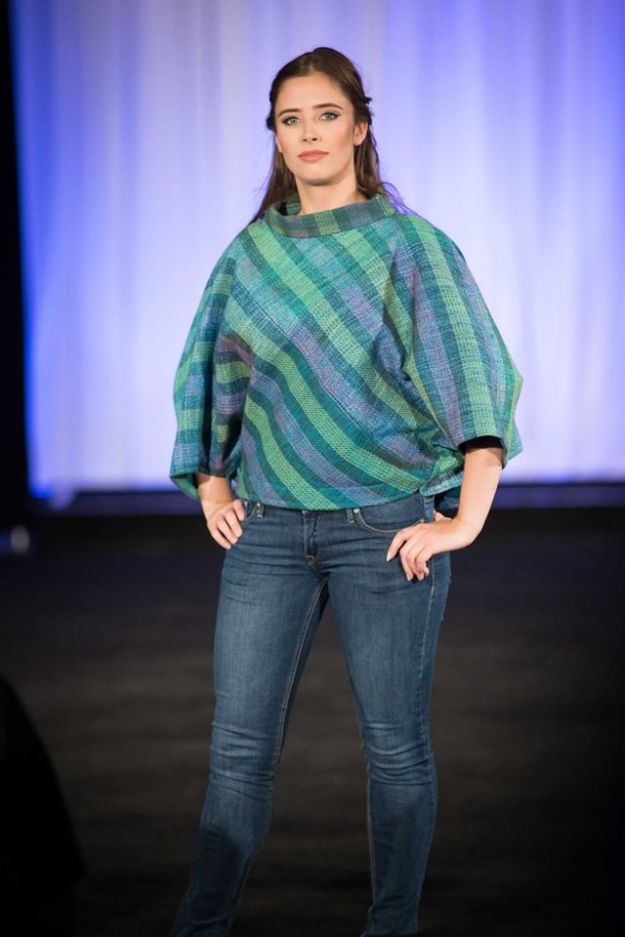
Photograph courtesy of the University of the Fraser Valley
And my draping, where I also made the accompanying hat, was modeled by Jaymi.


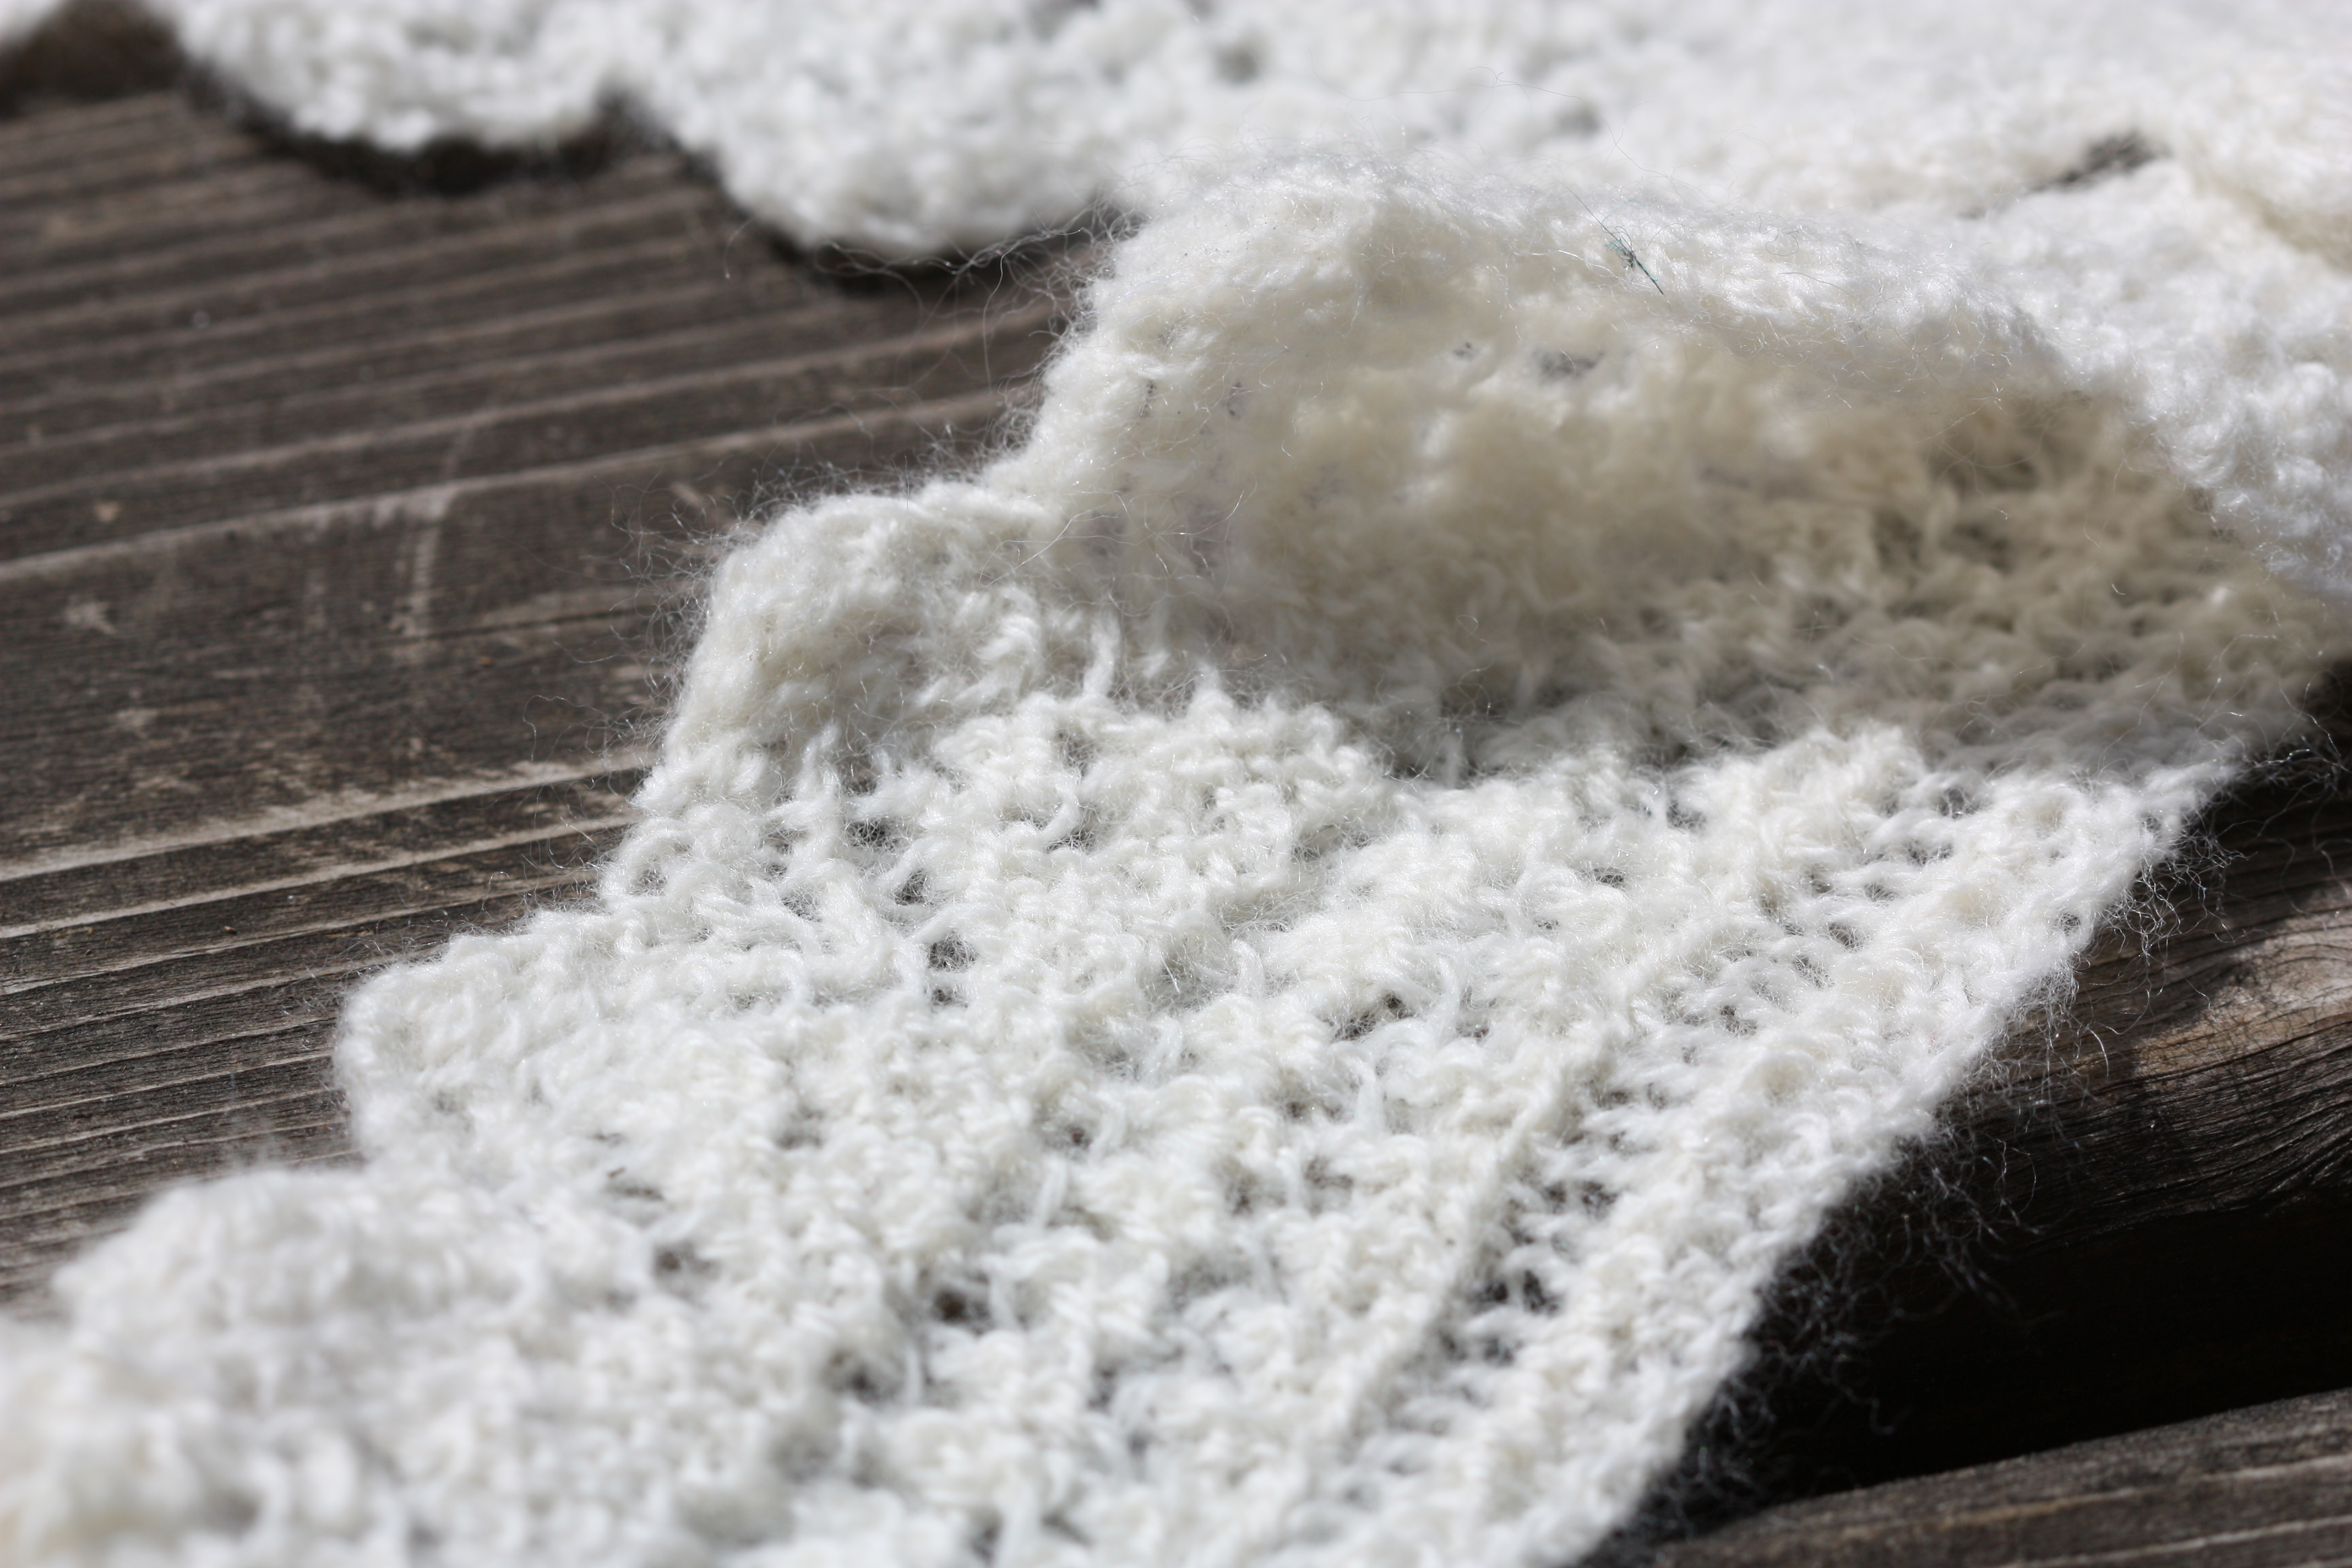
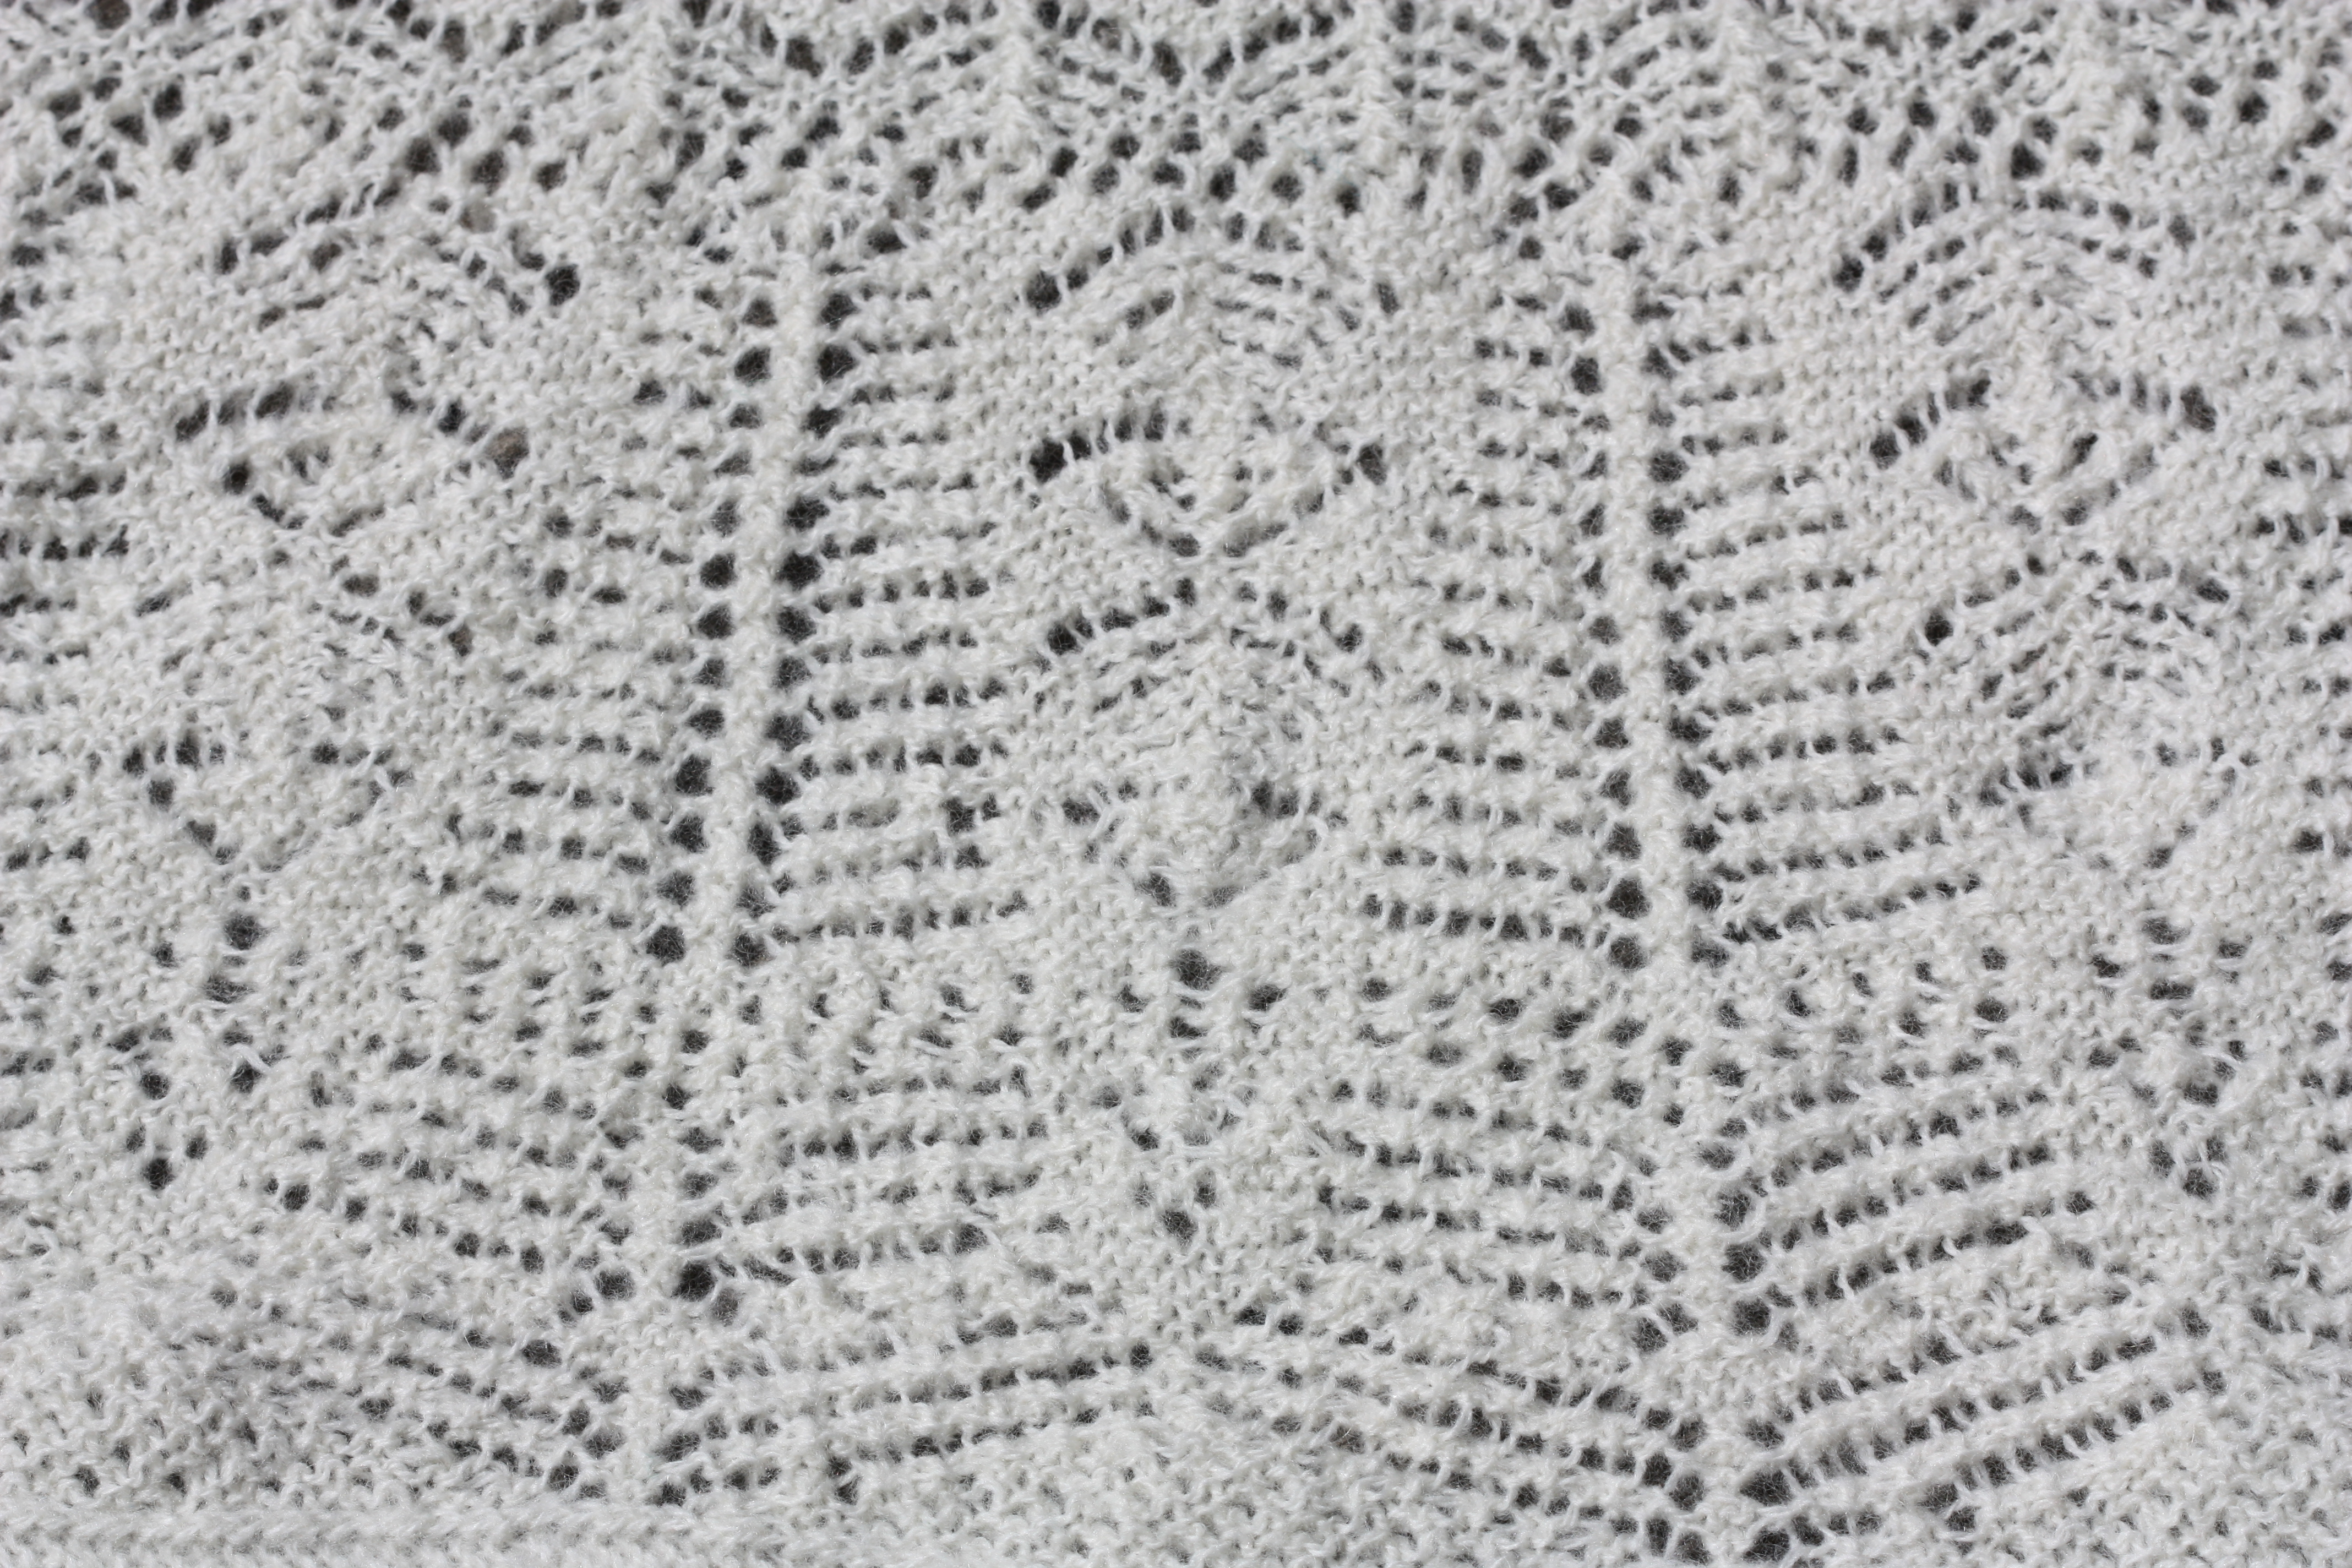
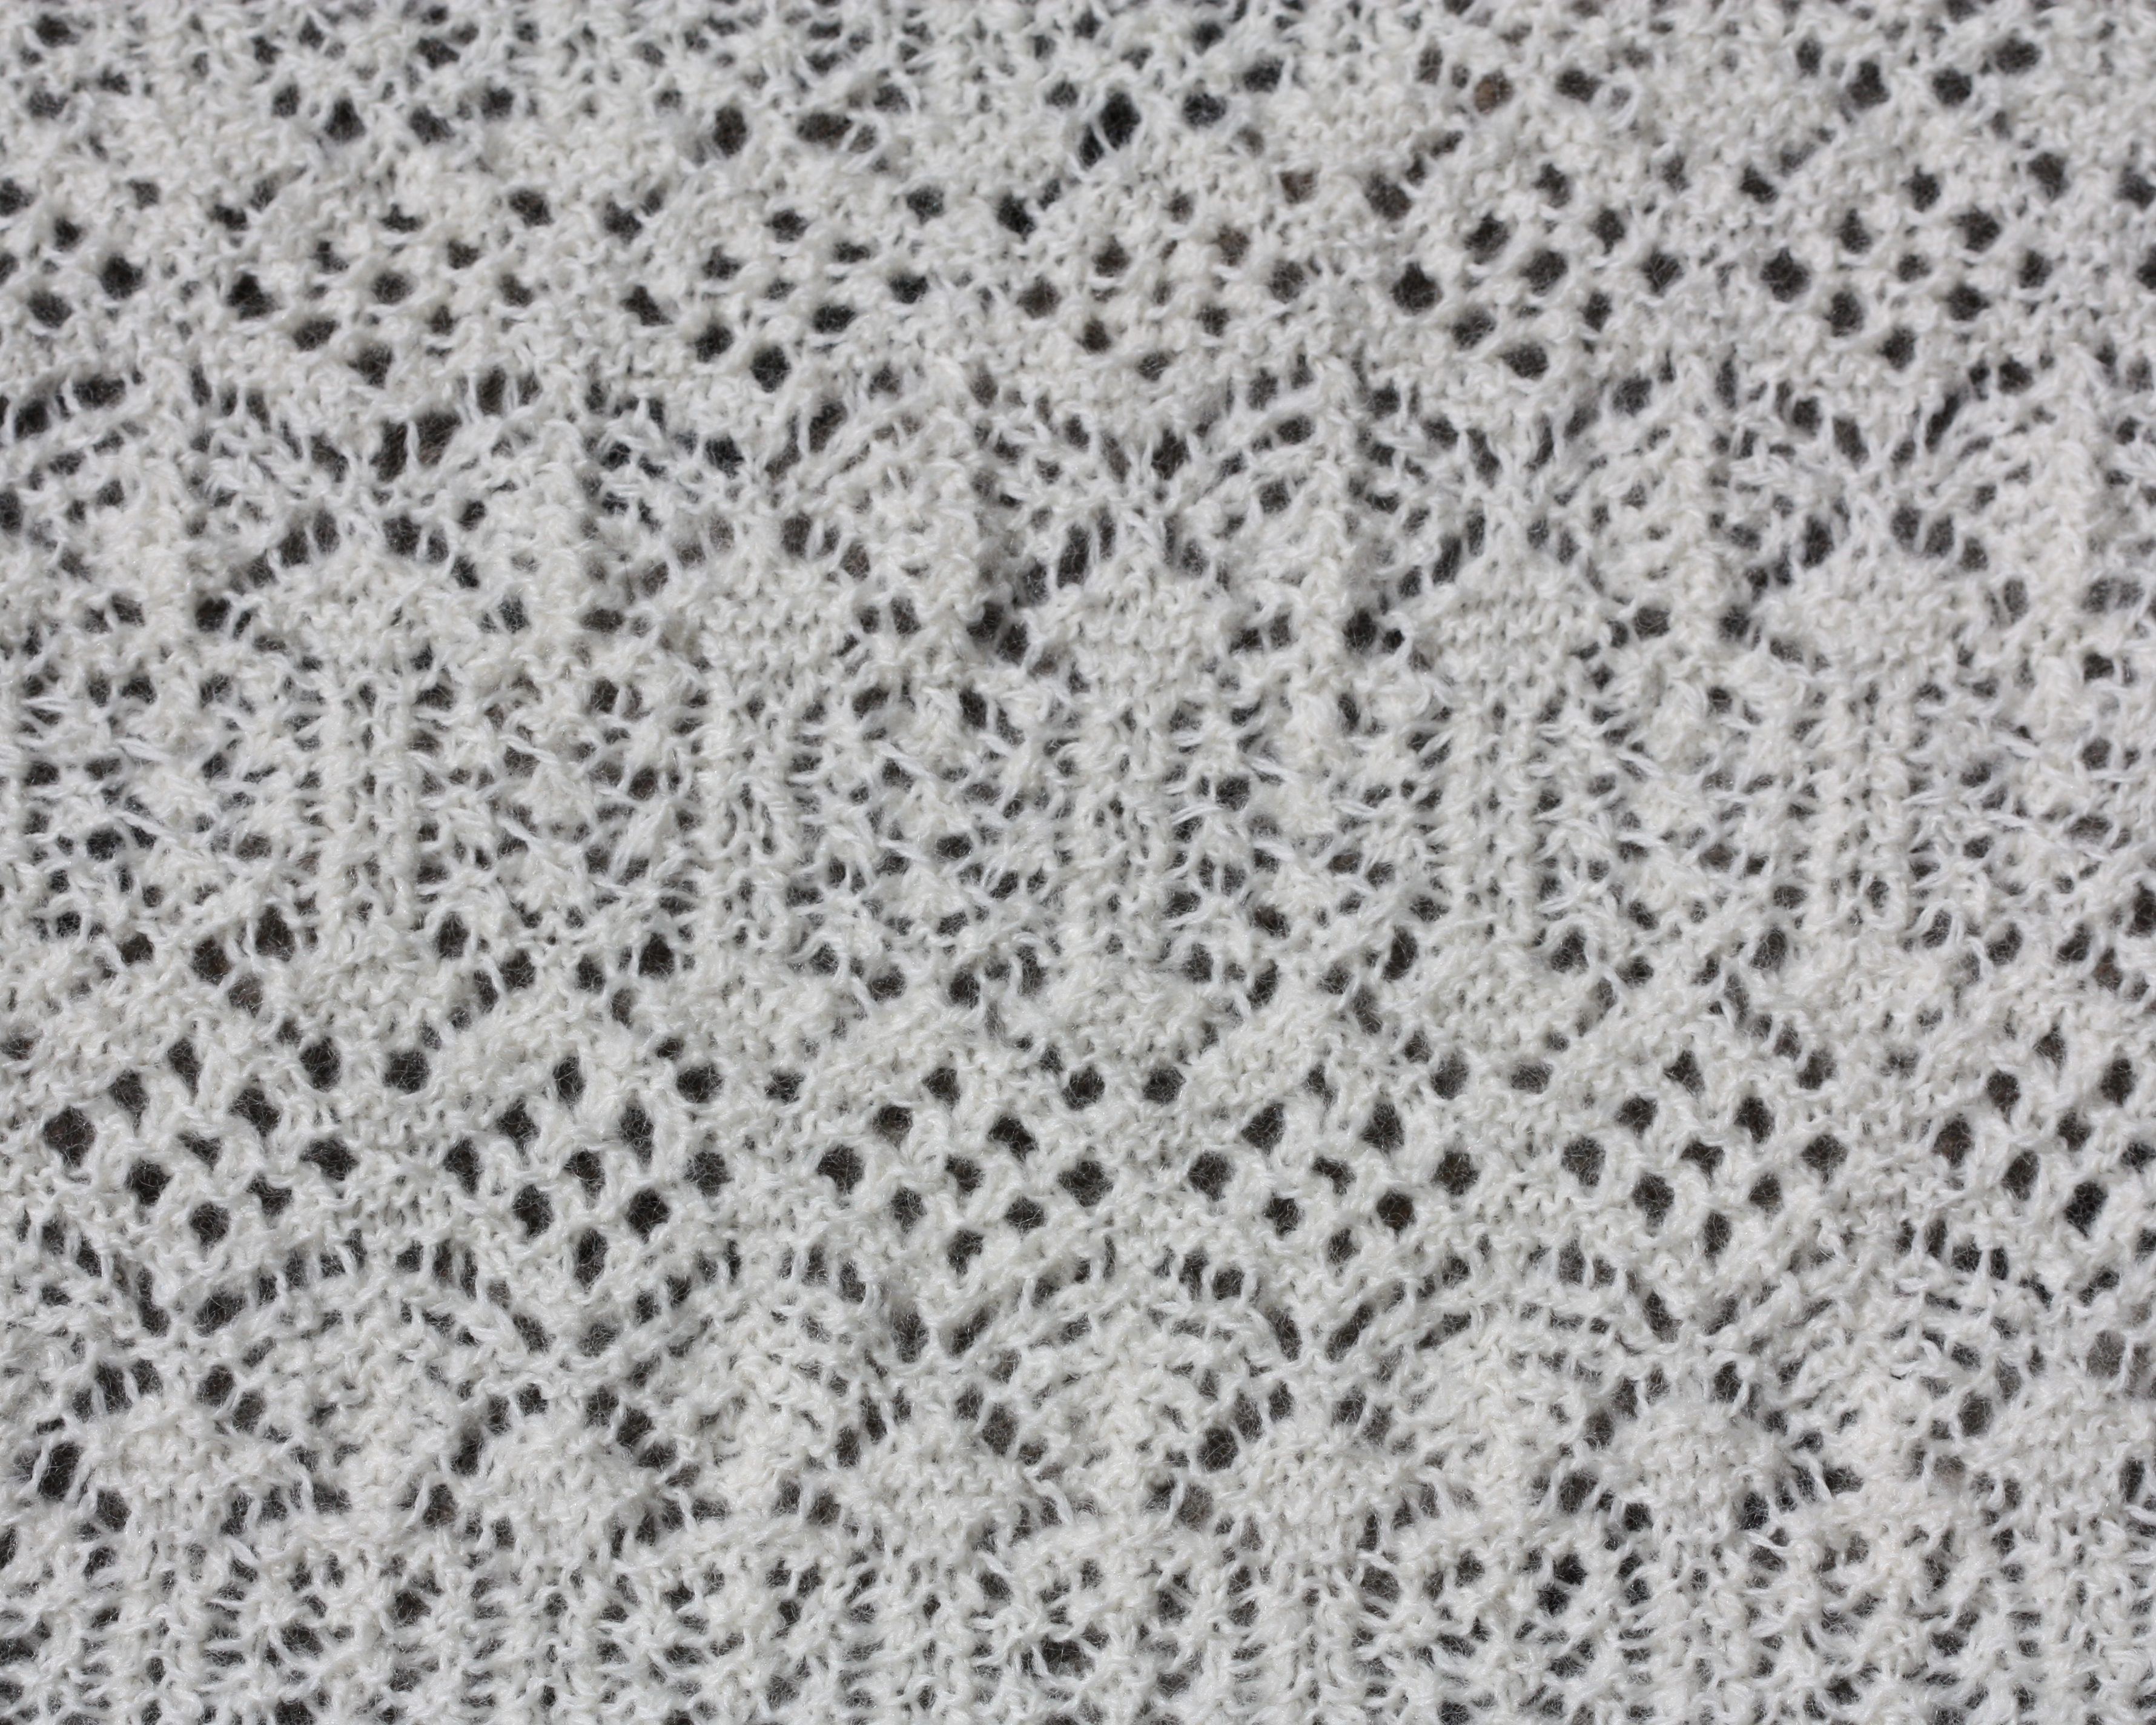
Finally, the last collection of the night was my graduate collection, Texture, which was based around natural fibre, a 1970s feel and a natural palette.
Here are Jaymi and Megan wearing two of my collection outfits.
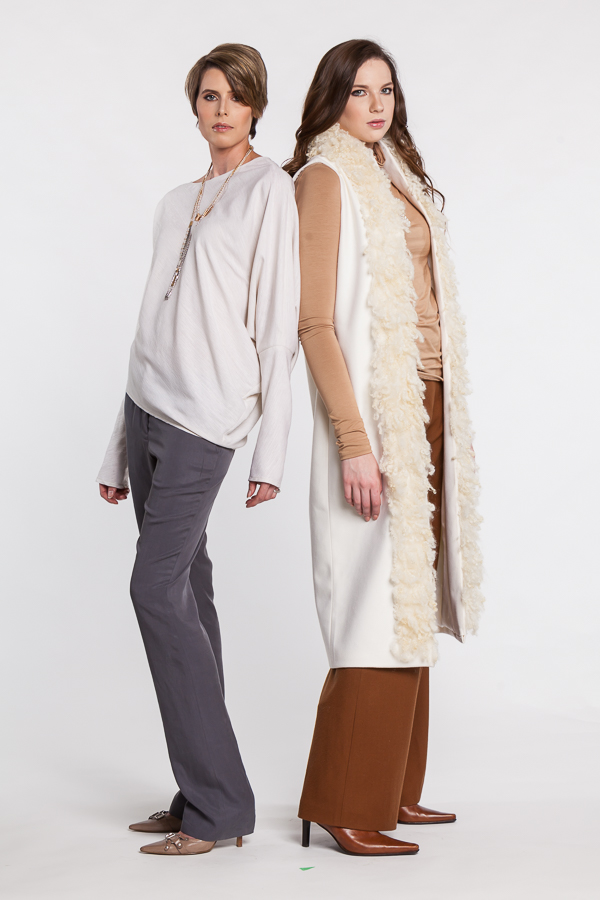
Photograph by Peter Jensen Photography
And here is Ava wearing my poncho.
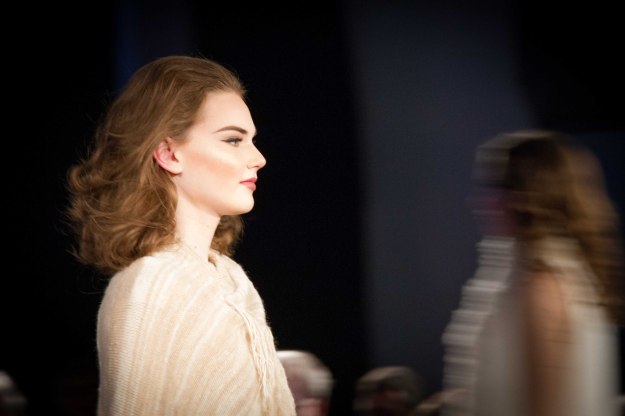
Photograph courtesy of the University of the Fraser Valley
If you want to have a look at the last few seconds as Jaymi, Megan and Ava walked the runway in my designs, you can see it here on my Instagram feed.
It was an amazing celebration of two years of work.To top it off I was the recipient of a Telio scholarship.

Photograph courtesy of the University of the Fraser Valley
Again, a HUGE thank you to my support network, a group of family and friends who came to watch both the afternoon and evening shows. I couldn’t have made it through without you.